Enjoy the demonstration!
Learning about native plants and habitat is so important. We should add features to our yards with the intention of supporting our pollinators.
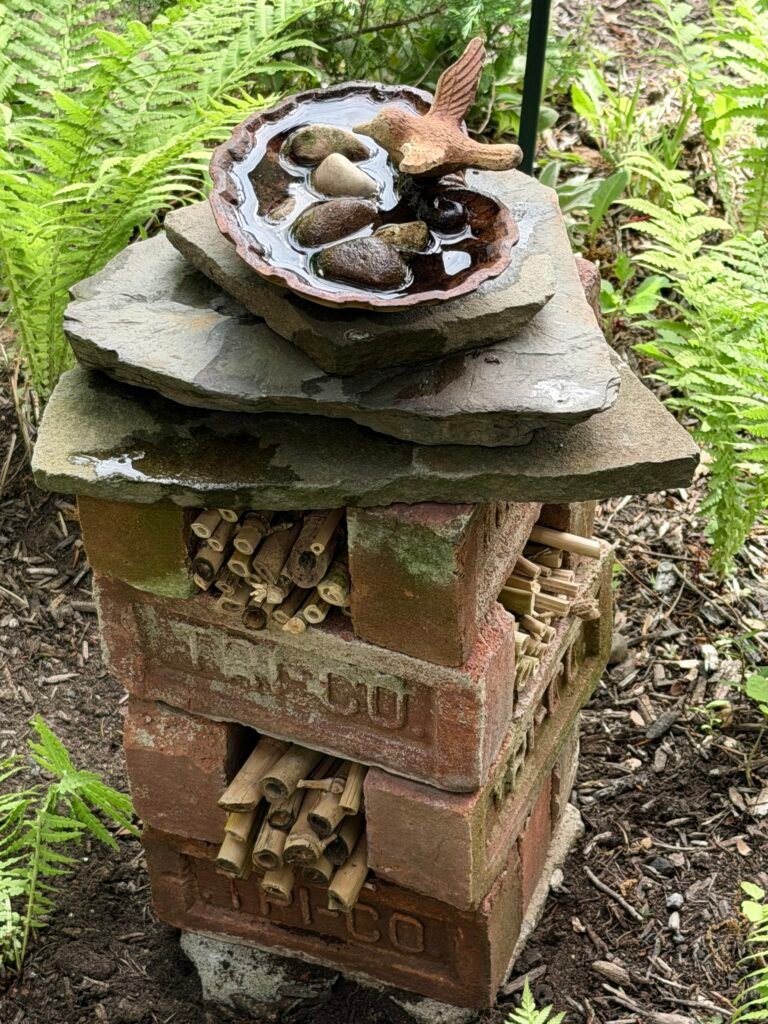
Let’s build a pollinator tower!
The text for this post is a modified version of the transcript of my YouTube video.
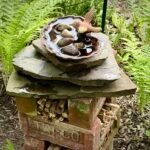
This is an easy little DIY project that looks amazing in any garden. Of all the up-cycled things around my property, this one far and away gets the most compliments, the most “oh my gosh, is that really how easy that is?” It’s made from some random bricks, slate, bamboo, and a little dish with stones for the bees to take a drink. It is so simple. It basically uses scraps from around your property and can be assembled in minutes. The hardest part may be finding materials if you don’t have those sorts of things lying around.
You need only 9 bricks for this project. You could go on the Marketplace or ask the neighbors if they have any old bricks lying around. I had some steps replaced and was left with my own beautiful pile! I had no idea what I would use them for of course, but I knew one day I’d figure out what to do with them…and here it is! Project #1! I have a bunch more so I’m looking for inspiration for another project. Comment and let me know if you have any ideas for me please! I also saved the mortar because it looks so nice with the words from the brick stamped into it. I’m going to use that for something as well. Of course, I don’t know what yet so If you have any ideas for those, let me know. But for now I’ll use a few of those pieces to level the ground. They make a perfect base for the brick tower.
The first thing I did was put down a couple of the mortar pieces to level out the ground. I did use an actual level to check it before I started building. I throw a level on everything because I’m psychotic! If anything is tilted or leaning in any way it makes me crazy!
With level ground, it goes up very easily. Take three bricks as a base. Be sure to keep any words printed on the brick facing out because it looks interesting.
Next I made a bundle of bamboo sticks.You could buy bamboo, but you definitely know someone who has a nuisance bamboo area on their property. They will be very happy to cut down a piece or two and give it to you. Bamboo is typically very long. You’ll need 2 or 3 pieces for this project. Sometimes people give me pieces that are six or seven feet long. The beautiful thing about bamboo is when you cut it into pieces, the widths are graduated. They are wide at the bottom and will taper to become narrower at the top. That gives the bundle a nice variation of random sizes and widths.
I put a twine around the bundles because the curious little chipmunks sometimes run through and disturb the whole pile. It seemed as though I was forever tucking it all back in. As a matter of fact, I stopped using pine cones and pine boughs because, when the chipmunks would run through that, it would be difficult to redo. Because of this I use bamboo bundles exclusively.
Cutting the bamboo is no joke. It’s harder than you would think. When I cut it, I use my big Fiskars clippers because they do the job much easier than my handheld smaller pair. (Or maybe mine just need sharpening. Yes, probably!) Cut the pieces the length of the brick.
Please know that bees wings are paper thin. The bamboo is great because it’s really smooth on the inside and it doesn’t damage their wings. When you cut the bamboo, you could use a file to smooth any rough edges to make sure that there’s nothing sharp that may tear their delicate wings.
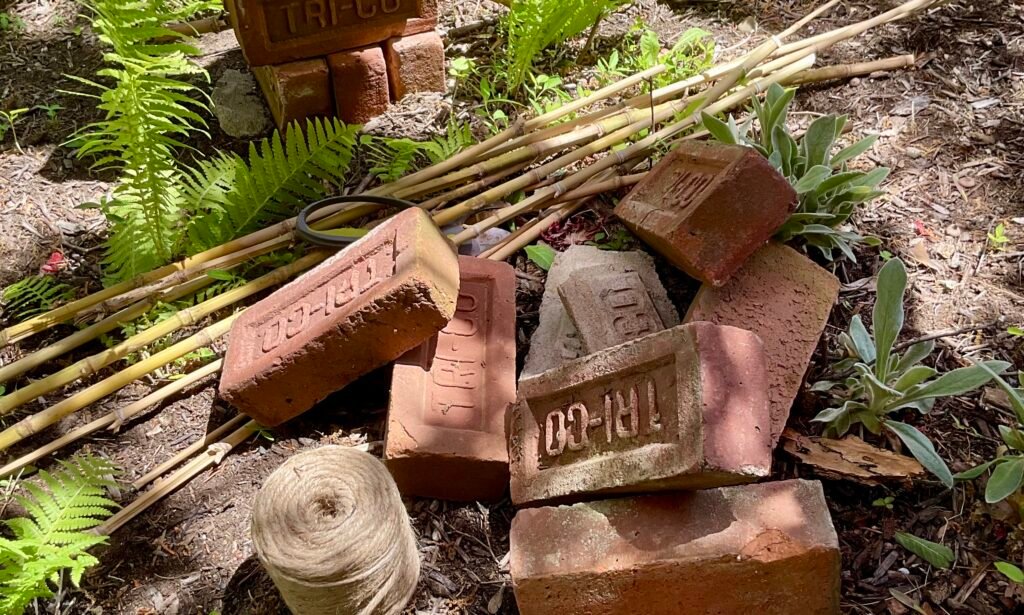
Stack the bricks like you’re playing Jenga. The assembly is so simple. I like the bamboo to be a bit sloppy sticking out of the spaces. I just like it that way, I think it looks more natural. It’s a structured design but the variations in the materials gives it a softer, more natural look. And I guess you could say that sloppiness is my aesthetic!
You can repeat that layer one or two more times. Use rows of three bricks for each layer. Take out the middle brick and replace it with a bundle of bamboo.
Alternate each row of bricks (like a Jenga tower) so you can see the bamboo from every side and no matter what angle you’re looking at it.
Lastly, I topped off the bricks with three pieces of slate from around my garden. It made a nice little landing pad for the water bowl. I did need to level out the top because of the unevenness of the pile of slate. But I only needed a small flat stone to make it level. I used a little metal dish that has been in my yard forever. I put small stones in it and poured in a little water. Bees like the minerals in salt so I shake a bit into the water for them. The rocks act as landing pad for the bees, so they don’t drown. I’m no expert, but I am trying to accommodate them!
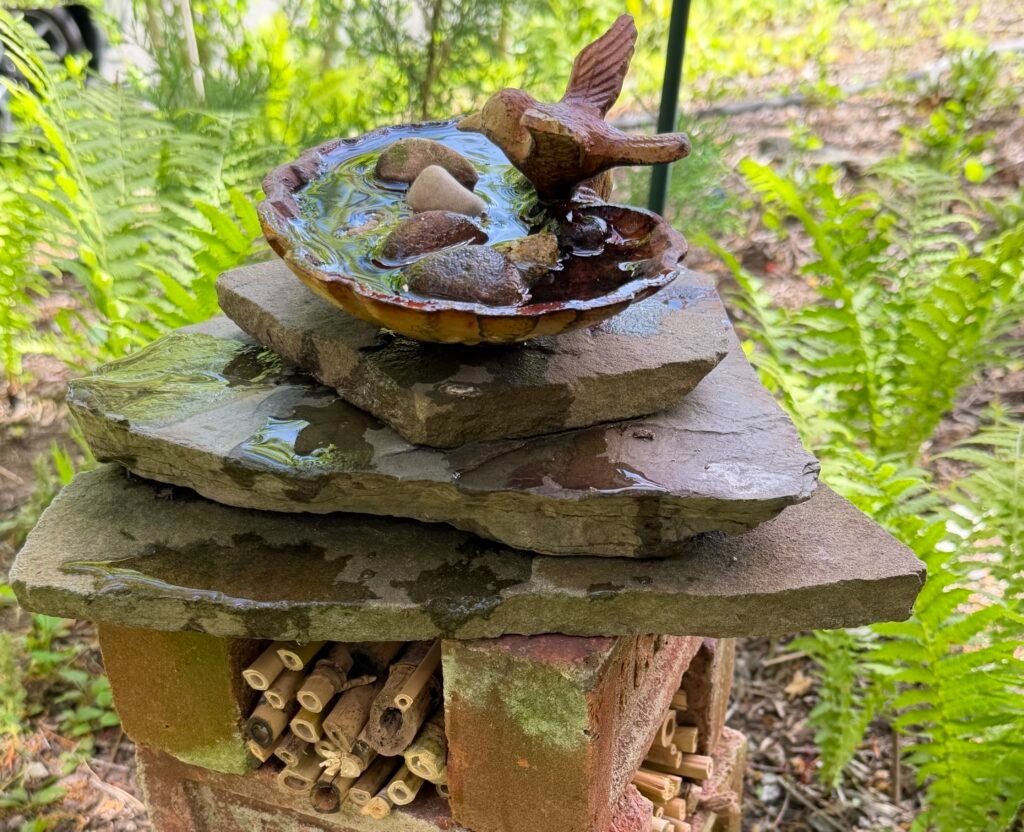
This is where you can get creative. You can top the bricks with anything; a piece of wood , slate, an old ceramic or tin plate, really anything unique to your home that makes your tower special to you.
And that’s it! Simple! I hope this has inspired you to create your own pollinator tower. I love learning about my local ecosystems and try to incorporate what I learn into my garden. Small additions have a big impact.
Happy DIY-ing and be nice to your bees! They need our help!



Leave a Reply