Growing microgreens in your kitchen is the perfect way to give a tasty nutritious boost to your meals any time of year, no matter what the season, no matter what the weather. I have recently changed my method of growing by switching to a hydroponic technique. I found that the soil in my kitchen was becoming a mess that I didn’t want to deal with so I thought I’d give hydroponics a try. Boy am I glad I did! It proved to be everything I’d hoped it would be- easy and neat! As with anything I attempt to do regularly, the simpler, the better.
With all the awareness of the harm that microplastics are doing to our health, I’ve been trying to eliminate plastics where I can. The obvious and easiest place here was the actual tray in which I’d been growing my microgreens. I immediately ditched the plastic tray and opted for stainless steel. I have since found that using hydroponics has been a major upgrade. The seeds sown in water are much easier to care for and less of a mess. I’ll keep the soil nourishing the gardens outside! I couldn’t be happier with the switch.
Water as the Growing Medium
All you need is filtered tap water. No need to avoid the tap for this. Tap water has naturally occurring electrolytes and minerals, like calcium, magnesium, potassium and sodium that are absorbed from soil and rock in the environment.
I do run the tap water through a Brita filter. Brita removes much of the chemicals, lead, copper, chlorine, basically any unwanted impurities. Instead of bringing soil in and out of the house I simply have to walk across the room to the kitchen tap, a convenience I truly appreciate!
Quality seeds
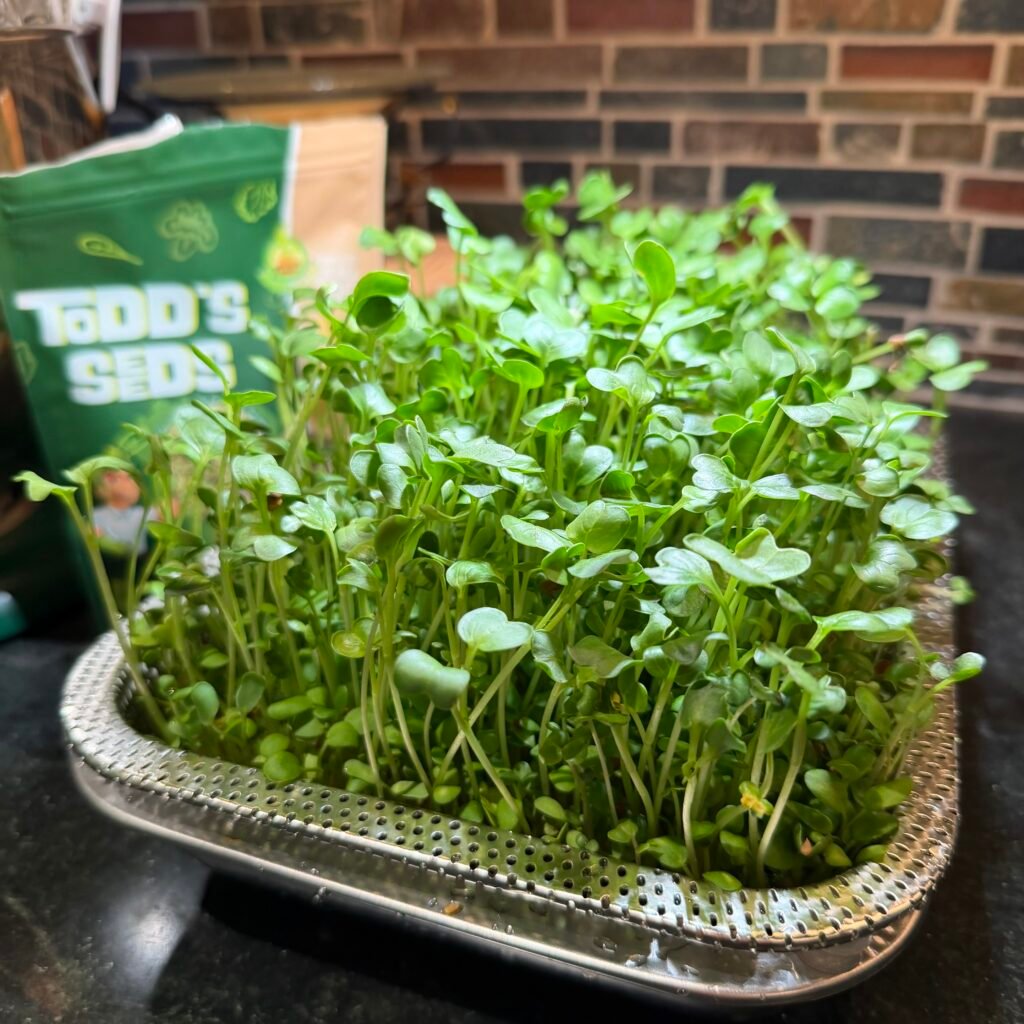
Of course your greens are only as good as the seed you use. I use Todd’s Seeds. The quality is outstanding. The label shows purity %, germination %, non-GMO, vegan, all the good things! My go to is their Broccoli and Friends Mix. I literally put it on everything; eggs, sandwiches, side dishes, green smoothies and of course, salads.
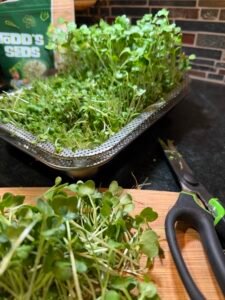
Stainless Steel Trays
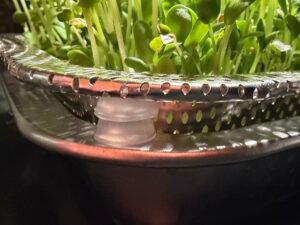
I want to share the stainless seed trays that I use and highly recommend. I use Amarys Hearth Sprouting Trays. The kit comes with 2 complete trays. They both contain a base tray, a mesh growing tray, a lid and a silicone mat with finer holes to accommodate smaller seeds. It also includes silicone pads that act as spacers. The spacers lift the mesh tray to allow airflow, which prevents mold. This is a beautifully designed kit. Having the 2 trays is so helpful, making it easy to stagger your harvests.
The Simple Steps to Harvest
The process is effortless.
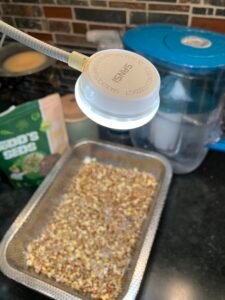
- Start by first rinsing then soaking the seeds for 12-20 hours in the base tray
- Spread the seeds on the sprouting tray. Make sure they are wet.
- Cover the seeds with the provided lid and keep them in a cool place. Continue to mist them with water every day. This is the ‘blackout’ period which usually lasts a day or 2
- When you notice the seeds have germinated, the cover comes off. Fill the base tray with water high enough to only touch the roots. Seeds should not be submerged.
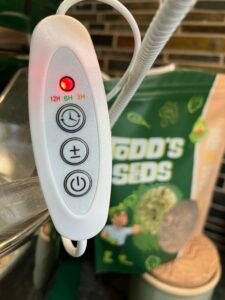
- Place under a grow light for 12 hours each day or near a sunny window
- Change water daily. Harvest should be ready in 10 days(ish)
- Harvest by cutting with scissors or a sharp knife. The roots can be added to your compost.
- Store the greens in the fridge. I bag them up and put them in the vegetable drawer. Since there is no soil there is no need to rinse them. The harvest from one tray will last me the better part of a week.
I found that the significant difference in using water vs. soil kept me effortlessly , and enjoyably, harvesting all year round. The hydroponic method is easier, faster, and neater. I much prefer keeping water rather than dirt on the kitchen counter. It’s simple to freshen the water every day to prevent mold and I found that the seeds sprout faster in water.
The 5 Reasons I, and you, should Grow Microgreens at Home
- They are packed with high concentrations of vitamins and minerals
- Very little space and minimal supplies are needed
- Harvest all year round
- Save tons of $$$ (check what a small container will cost you at the market!)
- Adds nutrition and a flavor to all of your meals
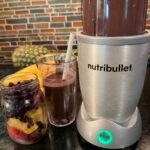
Add microgreens to breakfast eggs, green shakes, on salads, on side dishes, in sandwiches, on burgers etc. Microgreens are always a delicious, healthy addition to all of your meals.
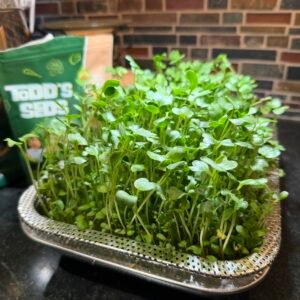
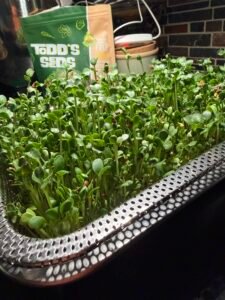
Check out the photo gallery below which shows my countertop ‘garden.’ There are links to all recommended items and as always thank you for starting your shopping through them!


Leave a Reply