Composting is great for the environment and great for your vegetable garden and flower beds. By maintaining a compost pile, you can very quickly make your own nutrient rich soil.
When I was looking to start a compost bin I considered tumblers vs. bins. The bin made more sense to me because I preferred that the ground was open beneath, water could drain, and the worms could naturally find their way in. Here I will discuss the easy set up and even easier maintenance of the bin. It takes up very little space and will improve the quality of all your other gardening projects, all while being environmentally beneficial.
Let’s keep it simple, because it is.
What you’ll need
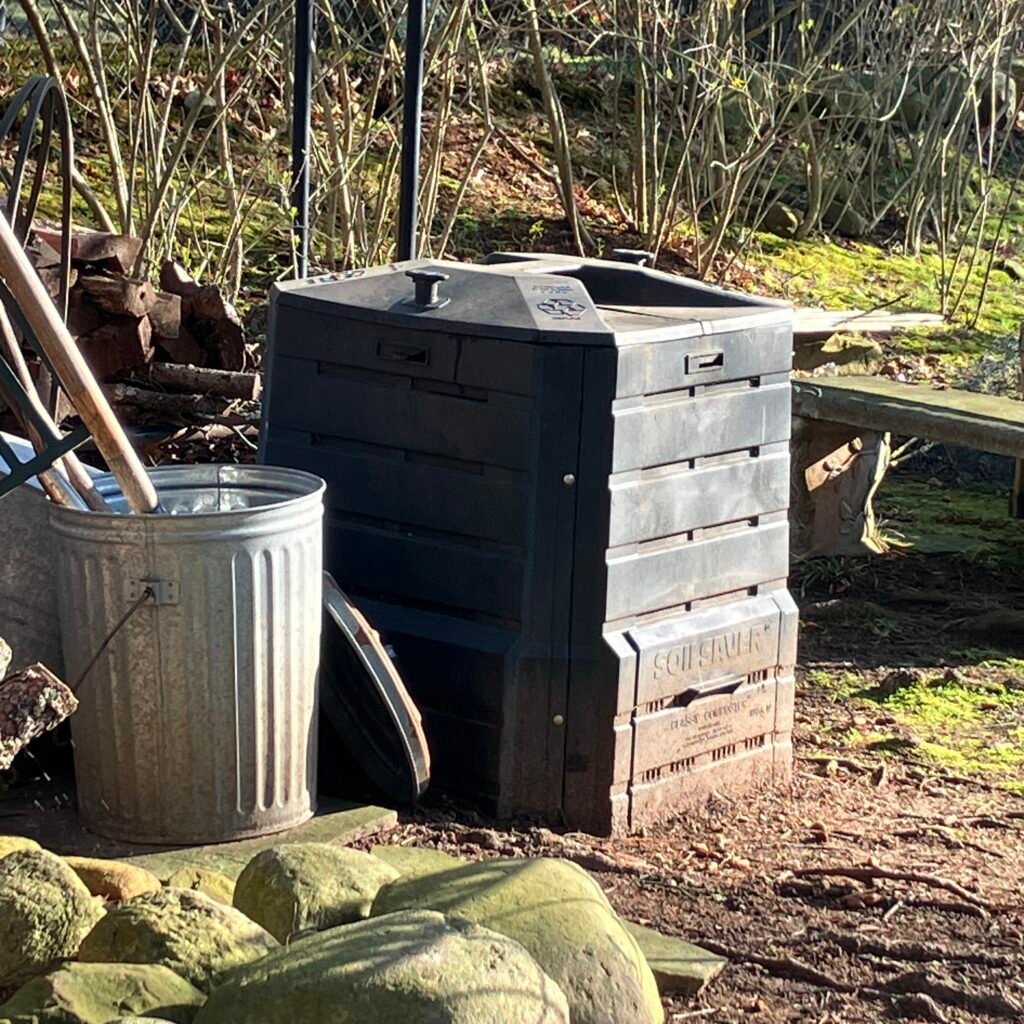
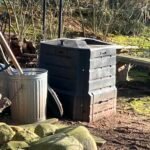
- A compost bin. I use an 80 gallon bin, but you can go bigger or smaller depending on your cooking and gardening habits. I add to mine daily and it breaks down so quickly that I have never come close to it being full. A bin with a door at the bottom gives you convenient access to harvest your soil.
- Organic enzymes for a boost to start your new pile. This is optional but I did it because I was anxious to get results.
- A tool to aerate. This can be a specially designed aerator tool or a typical garden fork and small shovel.
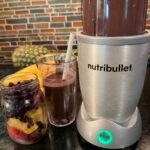
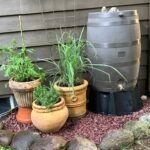
- A decorative bin for your countertop. So many options to match your decor! You can line it with a compostable bag to make clean up easier.
That’s it! Now let’s get your initial mix in there and let’s get going!
Where to start: Understanding the Greens and the Browns
Composting is all about ratios
Your ratio should be 3:1 brown to green.
The greens supply nitrogen rich material and the browns provide carbon rich material.
When this combination is in balance the waste breaks down into soil very quickly. The process is boosted by heat, water, air flow and the magic that the worms provide with their castings.
The good news is you do not have to over think this. Once established it will take care of itself, I promise!
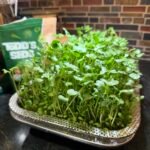
The Greens add moisture and proteins needed for the microbes which in turn, generate heat. Greens include things like grass clippings, fruit and vegetable scraps from your kitchen, coffee grounds, and plant clippings.
The Browns add oxygen and prevent odor. Browns include things like dry leaves, pine needles, small twigs, paper, and cardboard.
Initially you’ll need to layer the greens and the browns and add some organic enzymes to help get it going.
The enzyme can be used as a starter your first season and then that’s it. The enzyme is only needed to give it an initial boost.
You’ve seen the graphic charts of greens and browns (and yes, here’s another!) credit for this graphic to tinygardenhabit.com

Never add any dairy, meat, bones, whole eggs, or any plants that are diseased or have been treated with pesticides, or glossy paper. Never add pet feces.
The breakdown- 3 things that ensure success
1.Temperature. Place the bin in a spot where it will get some sun. The pile will generate its own internal heat as it breaks down but the sun will add an external source of heat as well.
2.Water. My bin has a few holes in the cover so that rain water can seep in. It’s not critical if yours doesn’t as you will likely have to add water directly into the pile. You will occasionally add water with a hose so that the pile is damp but never soggy. This is another reason why I like the open bottom design of the bin. It allows water to drain naturally if I overdo it with the hose.
3.Air. This is where turning the pile is important. As you add scraps to the pile it is important to stir it in. This will keep it aerated. It is necessary to give the pile a thorough mix once a week or so to keep it properly aerated. There are tools that are specifically designed for this or you can use a garden fork or shovel. The bin will also have air holes for ventilation so that air can travel and not become stagnant. When I add something I will cover it quickly with a shovel full of soil from the top layer, keeping it covered until I have a chance to give it a proper, through mixing.
Winter guidelines
Don’t neglect your pile in winter. Keeping methane producing scraps out of the landfills is a year long endeavor. Keep adding scraps to your pile even in deep freezes. The freeze thaw cycle will break down the scraps and you will have a head start in the spring as your winter additions decompose rapidly. Do not stir the pile in the winter. Stirring will release any heat that the pile has been able to hold on to. It will not smell in cold or freezing temperatures. Always make sure to shovel a path to your bin to keep it easily accessible all winter.
2 common concerns
1.Smell. When in balance, the pile will not smell. The pile will smell if it becomes soggy. If this occurs simply add some dry brown material. Browns very quickly absorb any excess moisture and keep the mix in balance. Having the bin on bare ground helps with drainage and helps prevent this issue as well.
2.Animals. I was concerned about this when I initially set up my bin. I leveled the ground and put a piece of chicken wire as a base. This was completely unnecessary! One thin layer of chicken wire would certainly not be able to (actually zero chance to) stop the family of groundhogs or the community of chipmunks that inhabit my yard if they wanted in. Turns out, they don’t have any interest at all. The pile doesn’t smell. It’s just a pile of dirt. Also, it’s visited by me so often that I suspect animals don’t consider it to be a safe place for them. The wildlife use my suburban home as somewhat of a nursery. It houses plenty of critters. My backyard camera shows that I have something of a game trail in my yard. I have groundhogs, raccoons, chipmunks, rabbits, deer and an occasional fox regularly passing through. They pass directly past my compost bin every night and never, not once, has it been disturbed or even acknowledged.
Why composting helps the environment.
When yard waste and food scraps are put in a landfill it is never aerated. It decomposes without the use of oxygen and produces methane. Methane is an extremely harmful greenhouse gas. By composting, you are introducing oxygen into the pile to decompose the scraps. This aeration produces carbon dioxide which is much less damaging to the environment than methane.
The established pile
After your pile is established you will know what it needs just by looking at it. If it’s wet, add browns. If it’s dry, add greens. It’s that simple.
And wait for the celebration you will want to have the first time you spot a worm. You can purchase and add worms to the pile if you choose. Mine showed up on their own and I thank them everyday for their service! They help to quickly break down the compost by feasting all day and by leaving castings to provide nutrients to the soil. They thrive in the moist environment of the pile and will stick around and continue to reproduce when given the right conditions.
Anyone can compost. There is a container and method for every type of household. Composting is possible on apartment balconies, kitchen counters, suburban backyards and through city programs. It really is possible for everyone.
Let’s save our scraps, and save the planet. Your vegetable garden and flower beds will thank you for it!
Leave a Reply