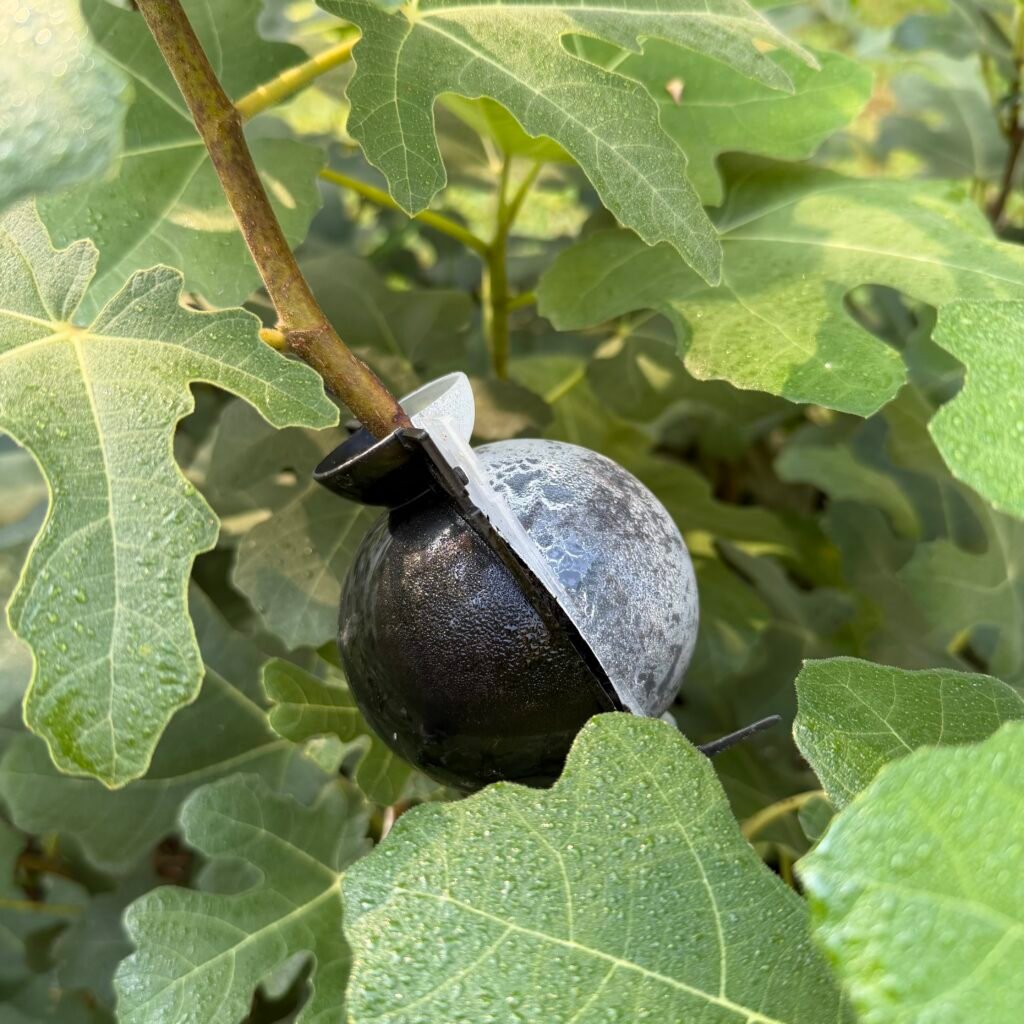
How to Propagate Fig Trees with Air Layering (Easier Than You Think!)
Every year I propagate my fig tree. After a lot of trial and error, air layering has become my go-to method. I’d always hesitated to try air layering because it seemed too complicated. The first time I tried it, I was a little intimidated. Turns out that it’s one of those things that I wished I tried sooner (story of my life). Four years and countless fig “babies” later, I promise you it’s simple, it works fast, and it’s the only method I use now.
I make so many new fig trees this way that I give them out to family and friends every season. Once you try it, you’ll want to make extras too.
What You’ll Need
- Air layering propagation balls/pods (available on Amazon — I use the medium size)
- Rooting hormone
- Velcro strips (pre-cut, for stability)
- Zip ties (the kit comes with some, but you’ll want extras)
- Top soil
- A bamboo stake or stick (to prop and support the stem)
- A small blade or knife
- A healthy, upright stem on your fig tree to work with
Difficulty Level: Easy
Don’t let the tools fool you — this looks more technical than it is. If you can peel a sticker and zip a tie, you can do this.
How To Do It
- Pick your spot. Choose a nice, strong, upright stalk on your fig tree. Spring is the ideal time, since that’s when the tree is naturally pushing energy into new growth.
- Strip and score. Remove a few leaves from the area you’re working on, then use your blade to make a small score mark in the bark. Gently peel it away with your nail until you see the white underneath — that’s a sign of a healthy fig.
- Apply rooting hormone. Wet your finger and apply the rooting hormone directly to the exposed area.
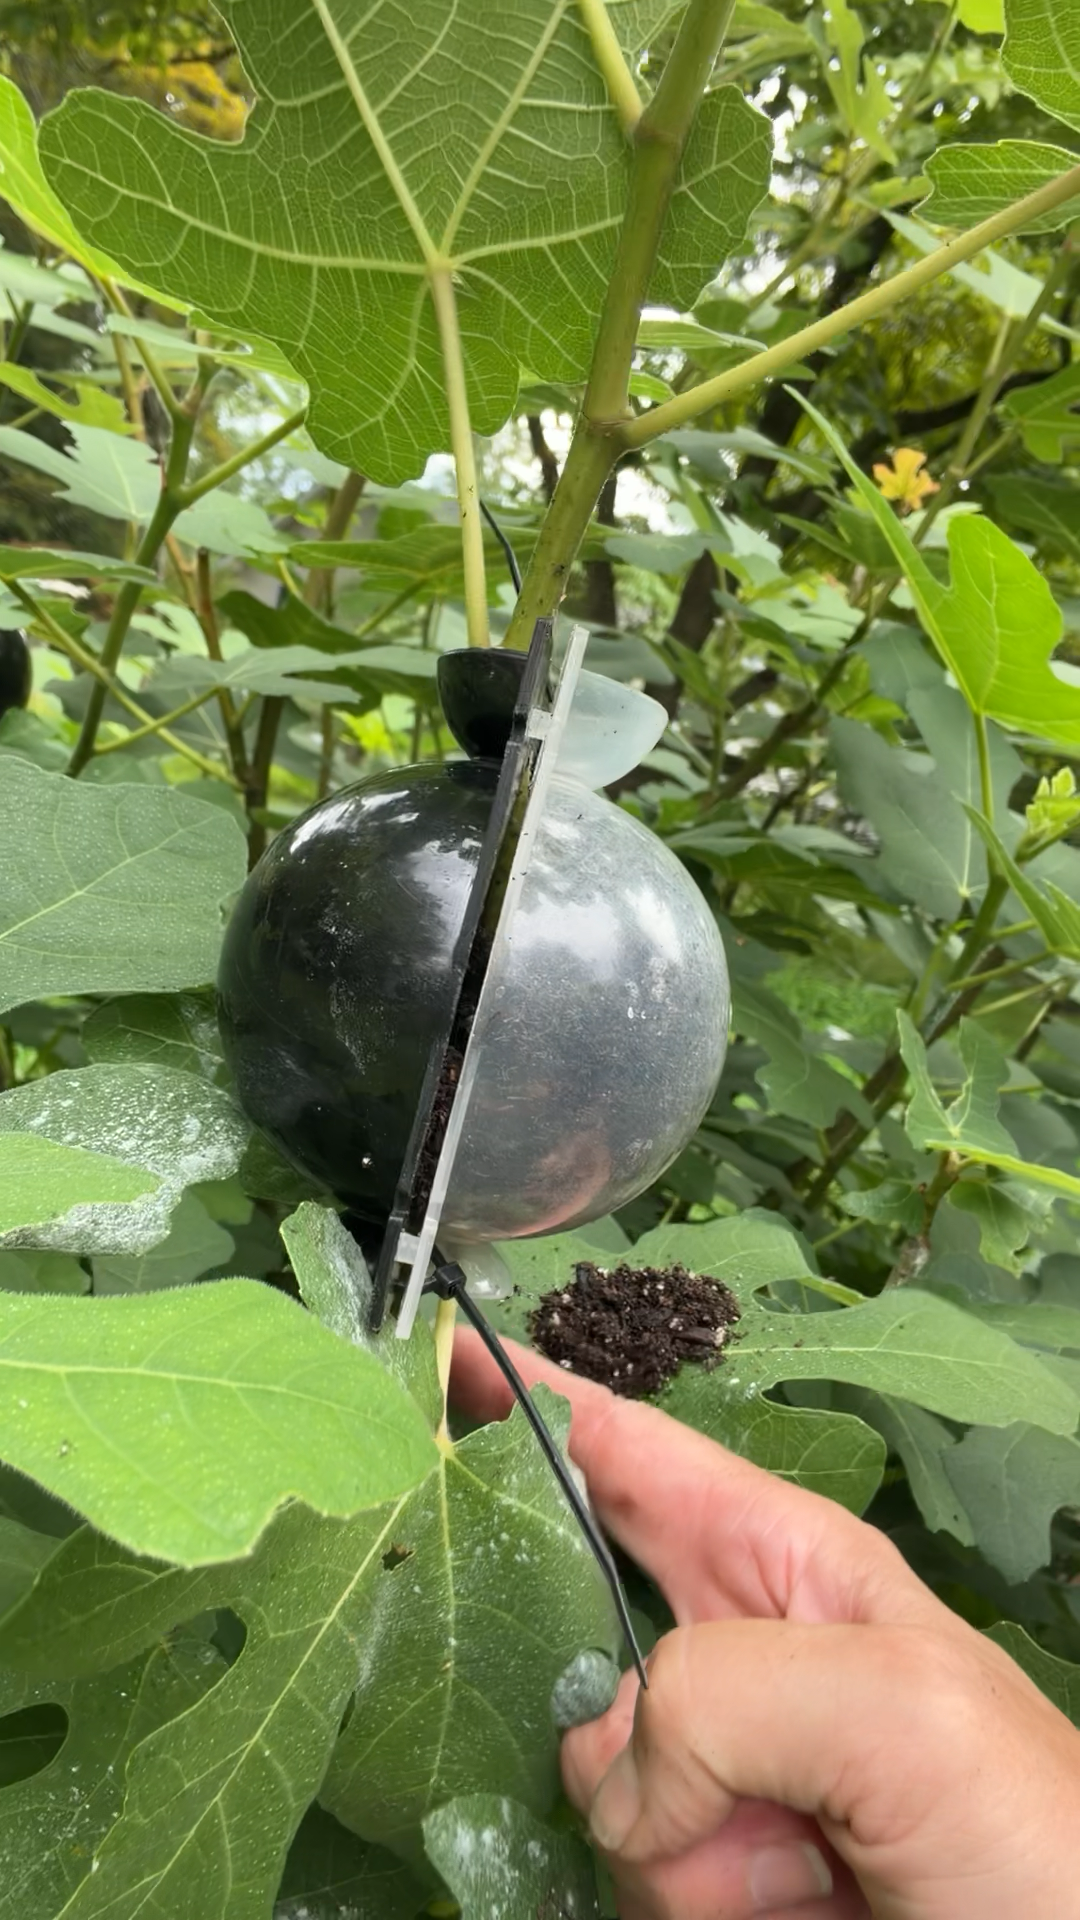
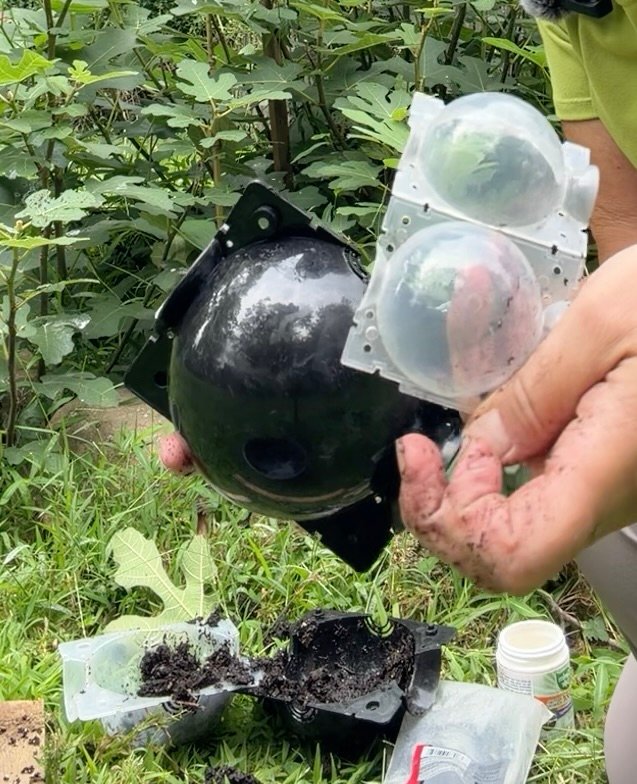
- Set up your air layering ball. Fill both halves of the pod with top soil, then clamp it around the stem, right where you applied the rooting hormone. This is the only slightly tricky part, but it’s quick.
- Secure it. The pod has four holes for zip ties, but you really only need two — placed on opposite corners — to hold it snugly in place.
- Prop it up. Use your bamboo stake next to the stem and secure it with velcro strips. This keeps the stalk straight and steady while the roots form.
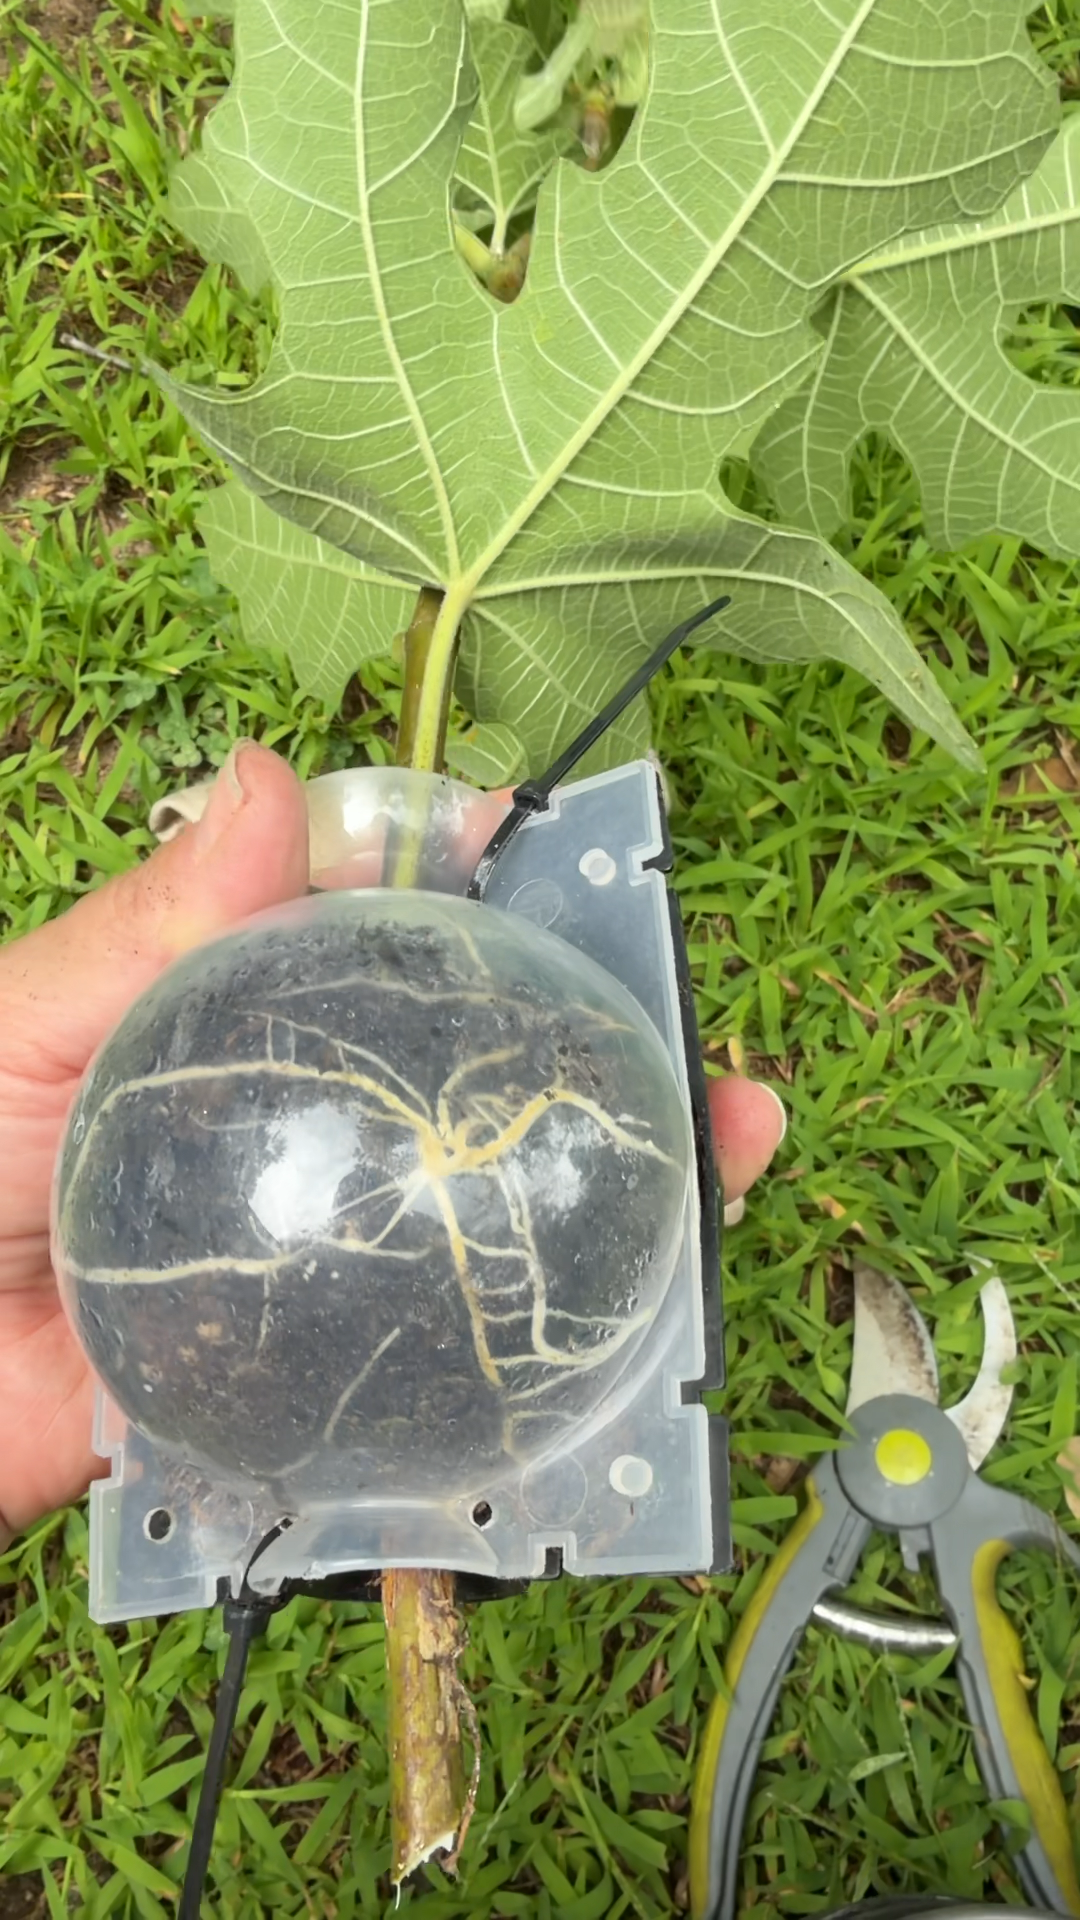
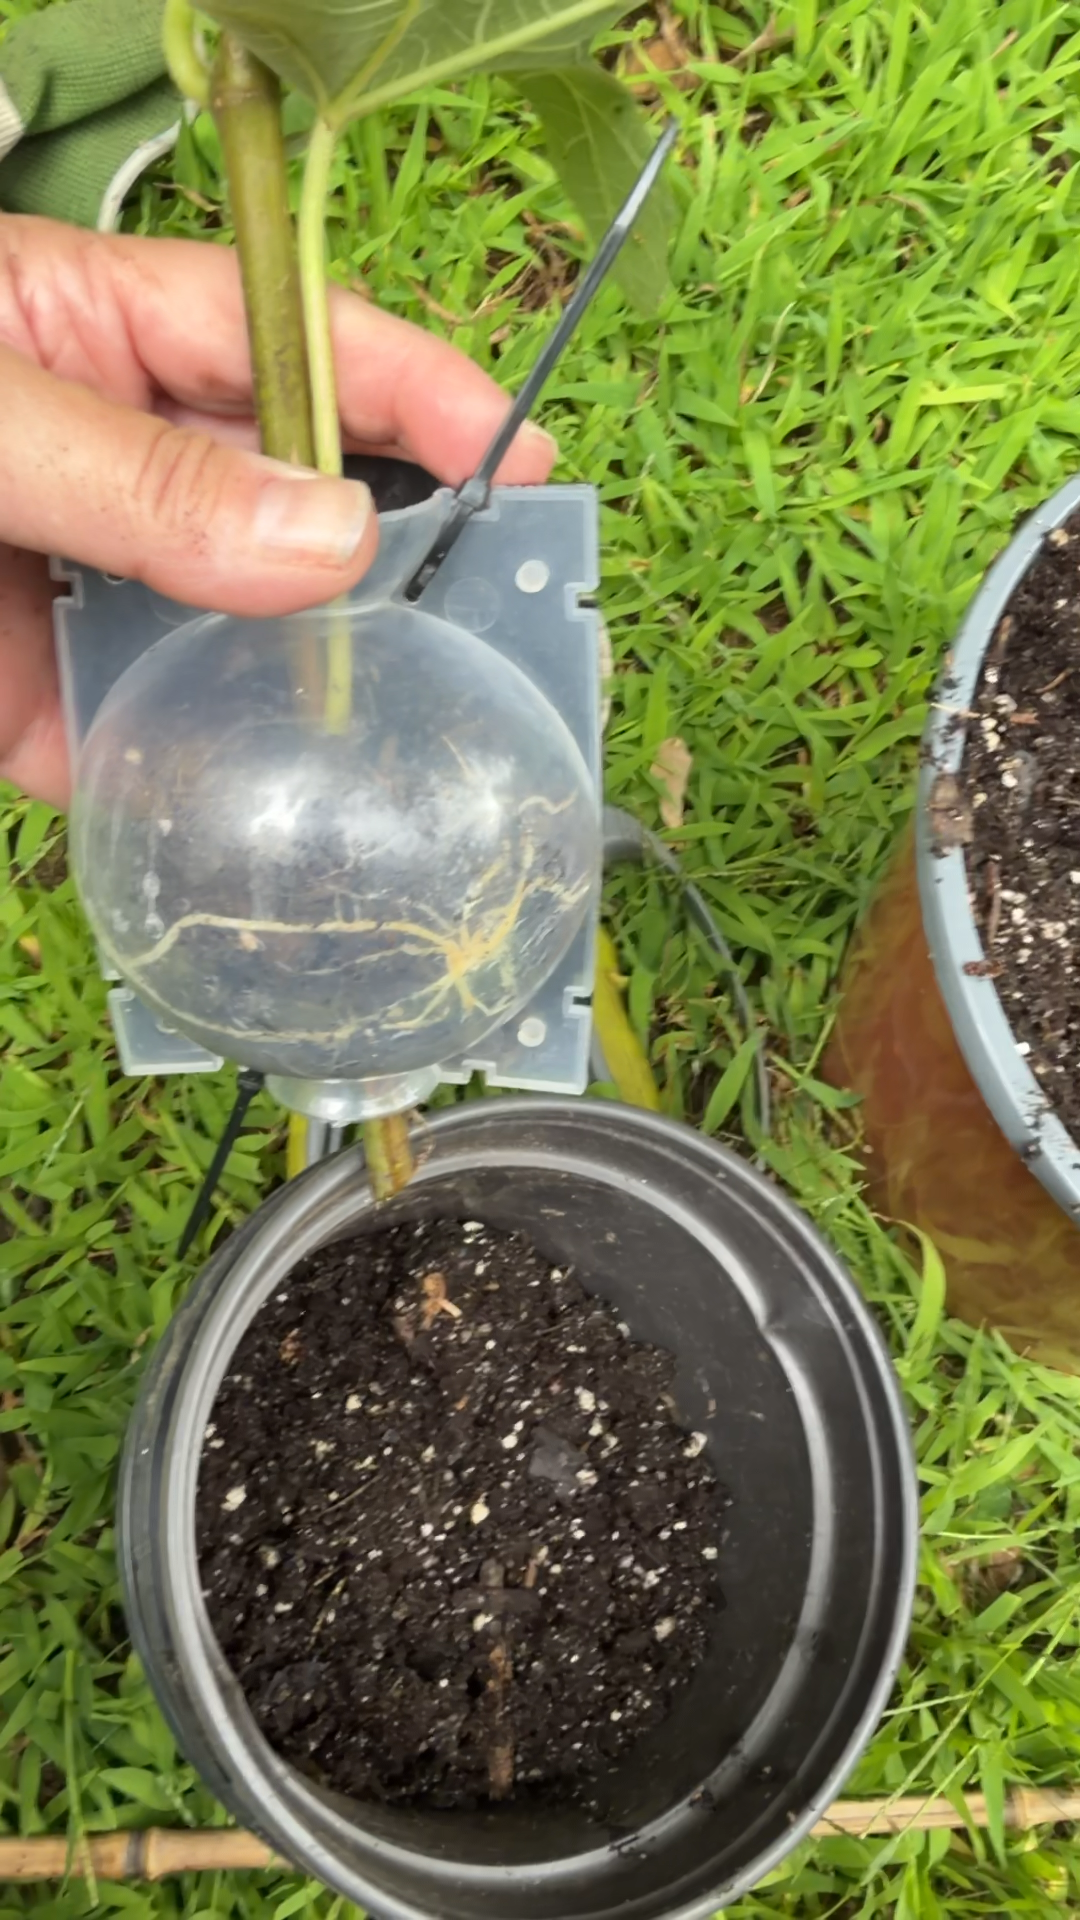
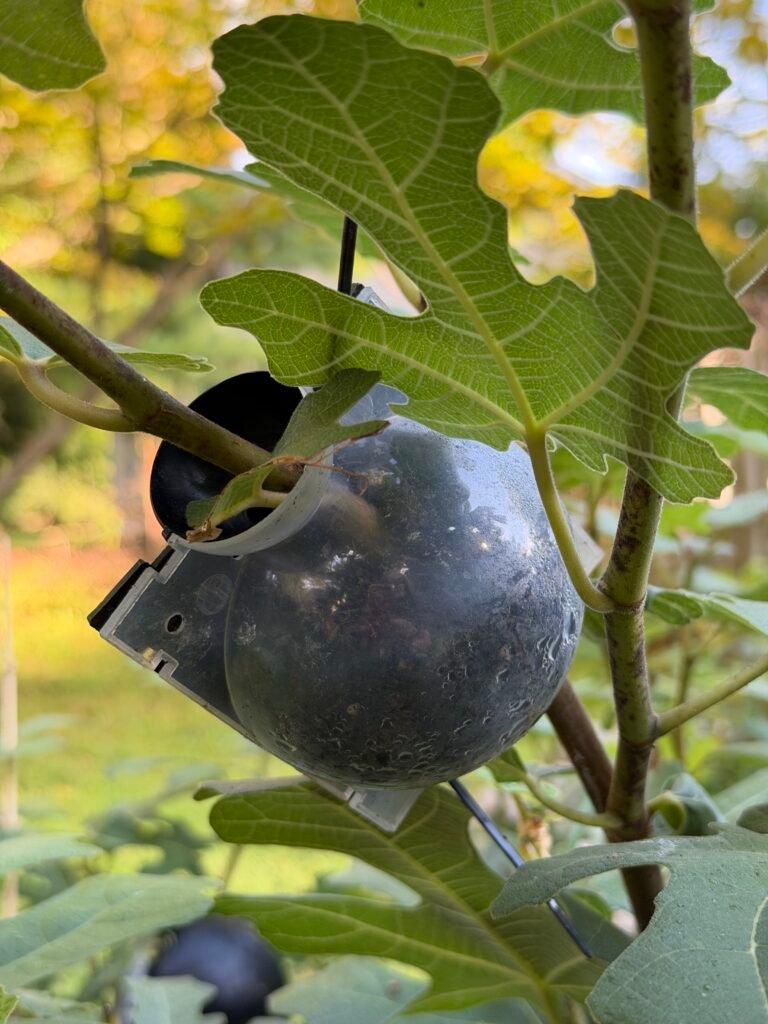
- Water and wait. Keep the soil watered. In about two weeks, you’ll start to see roots forming through the pod’s clear window.
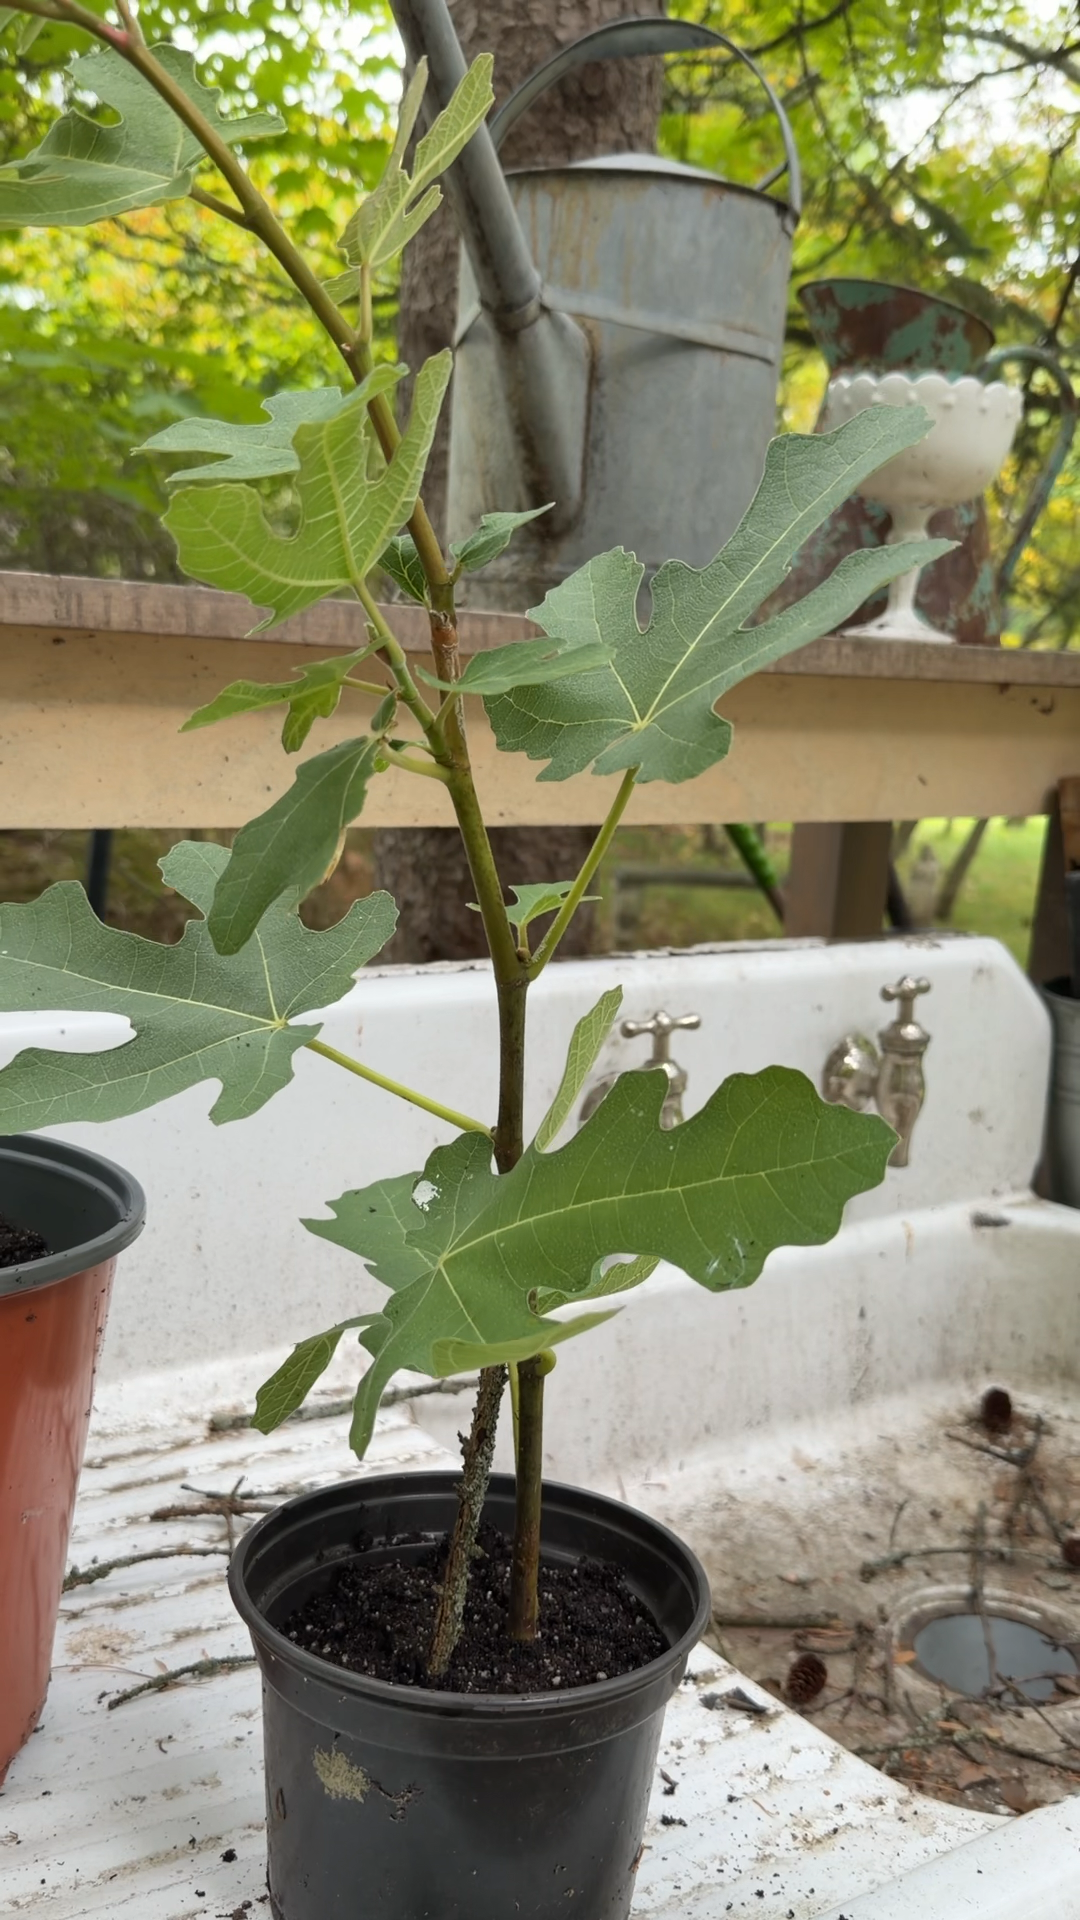
- Harvest your new plant. Once you see a good root ball, cut right below the pod. You’ll have a fig tree ready to pot up!
The Best Part
There’s something so satisfying about handing a friend a little fig tree you grew yourself. It’s low-cost, low-effort once you get the hang of it, and it turns into one of those DIY house gifts everyone actually loves — thoughtful, homegrown, and something they’ll enjoy for years to come.
So grab your kit, pick a healthy stem, and start growing your next round of fig babies to share!
Watch this short video of me demonstrating the ‘how to’
click the link below to pick up any supplies you may need. I do receive a small commission from purchases you make through my affiliate links at no extra cost to you.
Thanks for visiting Suburban Sanctuary and for starting your Amazon shopping with my links!





Leave a Reply