STOP Buying Trail Mix! Here’s Why I Started Making My Own
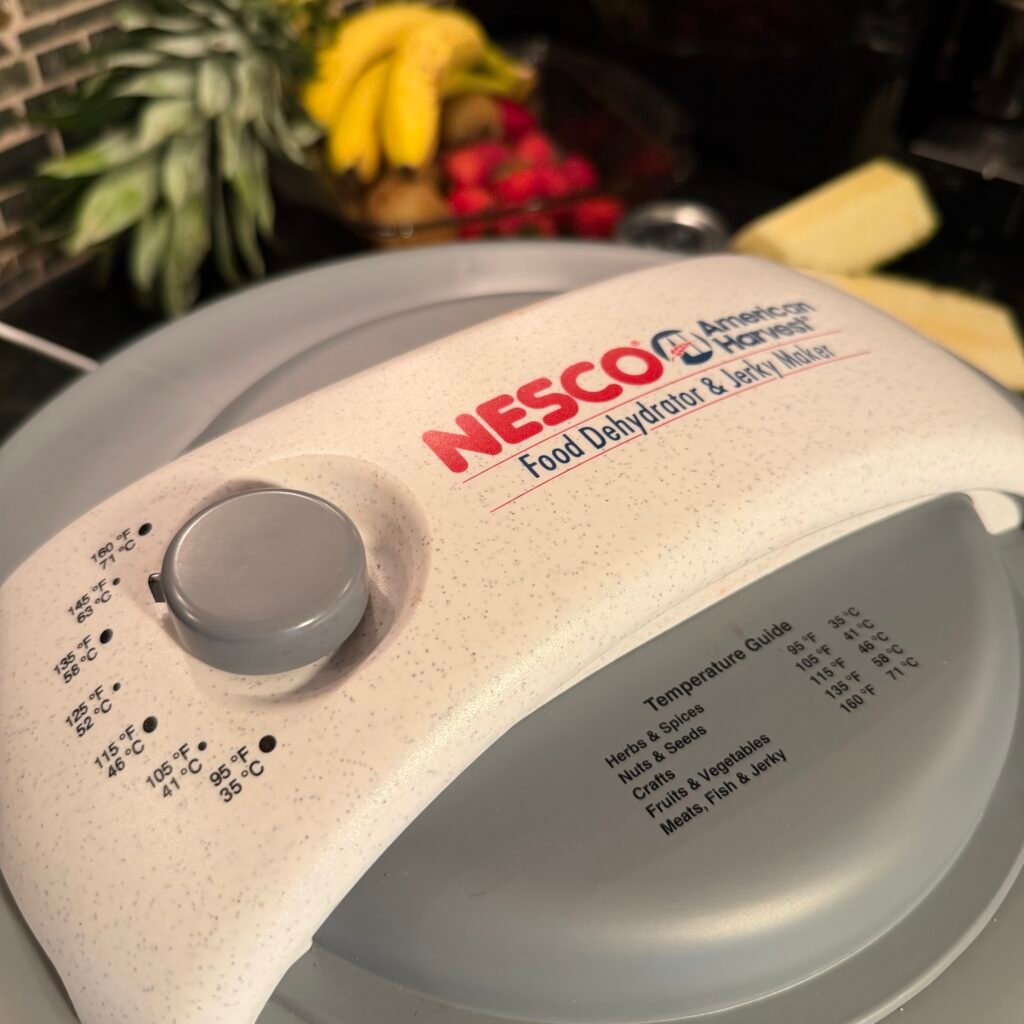
I can’t stop raving about how much I love and use my Nesco dehydrator at home for trail mix, garden herbs and (surprisingly) jerky.
I used to grab a bag of trail mix off the shelf without thinking twice. It says “healthy” right on the front, so I figured I was good. But once I actually flipped it over and read the label, I was kind of annoyed. Preservatives, food coloring, added sugar — literally all the stuff I try to avoid when I’m grocery shopping for everything else. Why was I letting it slide just because it was in a “healthy snack” bag?
That’s when I started looking into dehydrators, and happily, I ended up with the Nesco Snackmaster. Honestly, it’s changed how I snack.
Why I Actually Use It (Not Just a Kitchen Gadget Collecting Dust)
Here’s the thing that sold me: it’s actually affordable, and it’s stupidly easy to use. You set the temperature, plug it in, and walk away. No flipping trays every 20 minutes, no guessing if one side is drier than the other — it dries everything evenly on its own.
That alone made it worth it, but it’s turned into one of those appliances I reach for more than I expected.
Trail Mix, But Actually How I Like It
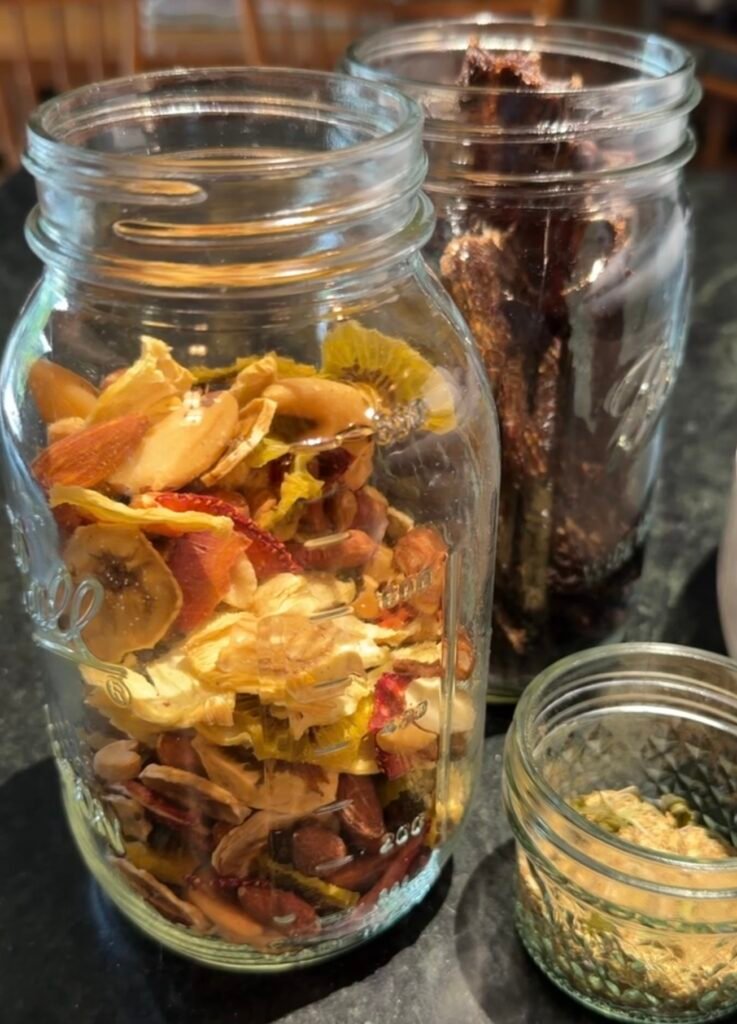
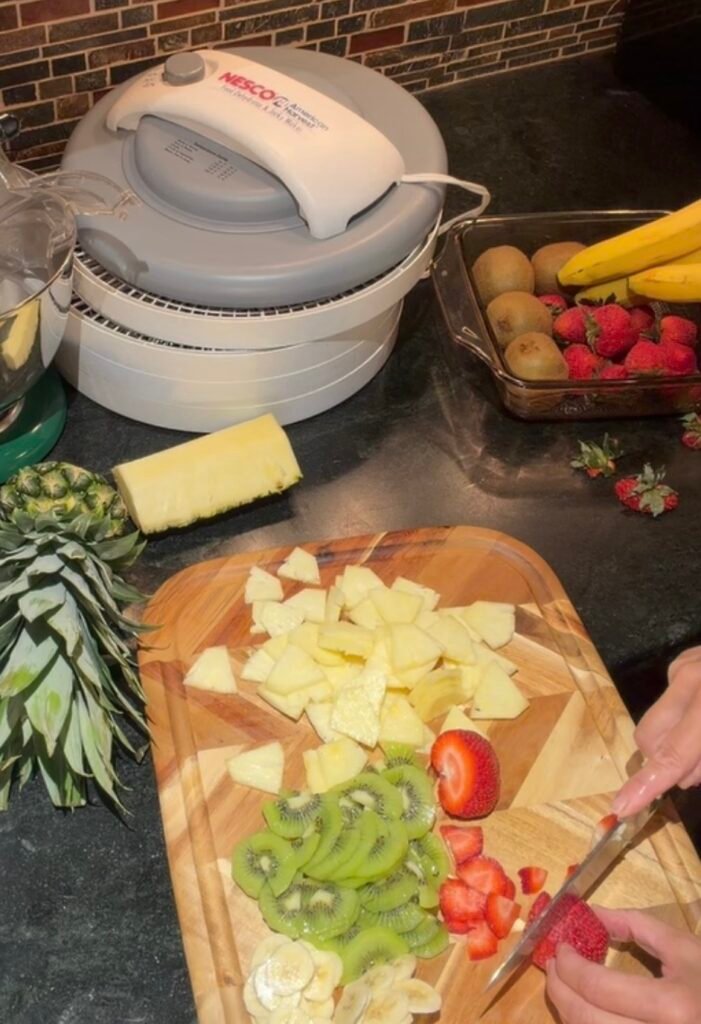
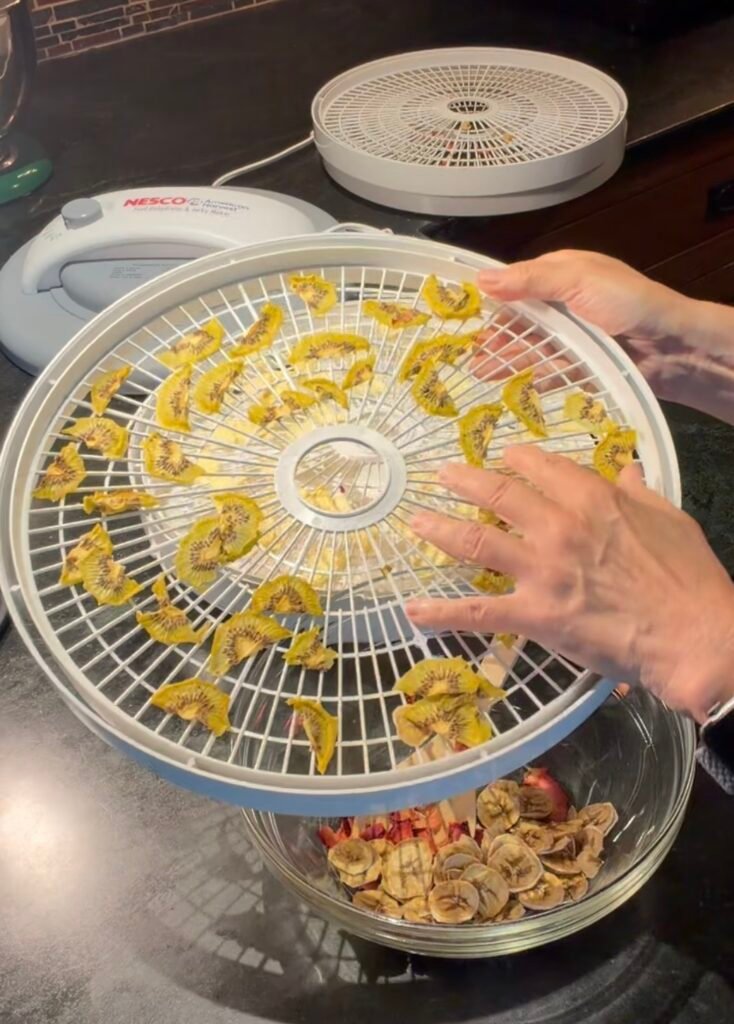
This was the whole reason I got it in the first place. Instead of buying a mix where I like maybe 70% of what’s in the bag, I just dry the fruit I actually want. My favorites are pineapple, strawberries, and kiwi. I then toss them with my own nuts and seeds. No added sugar, no mystery ingredients, and it genuinely costs less than the store-bought stuff.
I cut the fruit about ⅛ of an inch. Try not to cut them too thin because then it is hard to ‘pop’ them off the tray without breaking them. The temperature can be set depending on what you are dehydrating. The instructions come with a complete guide with temperature and time recommendations for whatever you’re drying.
Turns out when you control what goes in, you like all of it. Wild concept. DIY is the best!
It’s Great for the Garden, Too
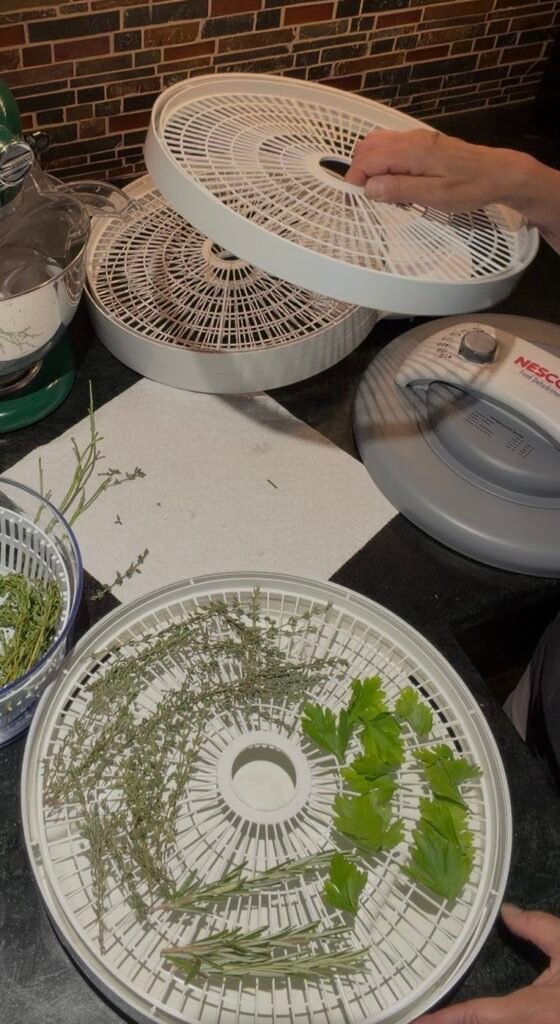
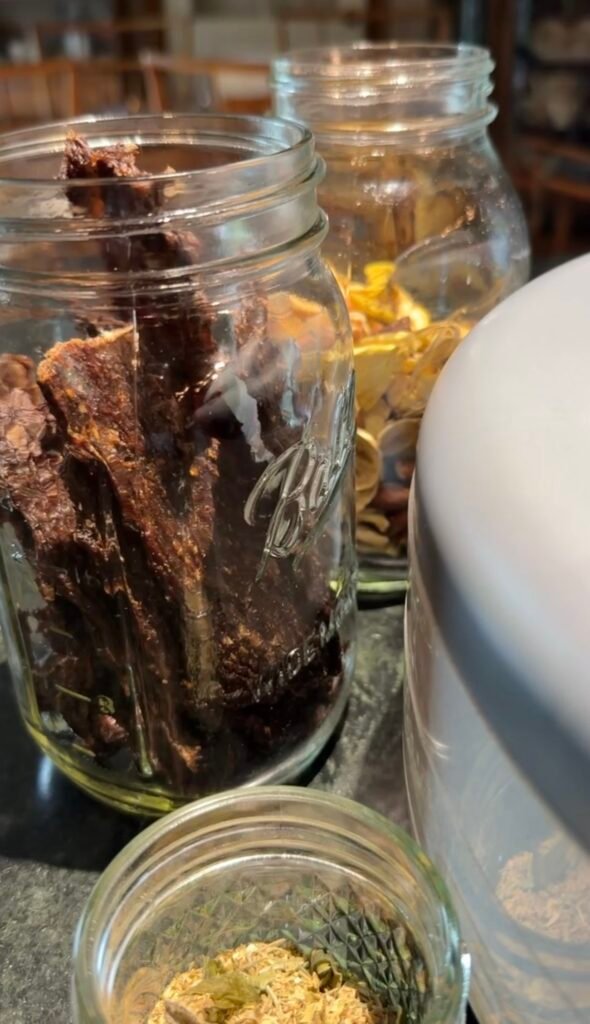
If you’re a gardener and grow anything, herbs especially, you will love this. Instead of watching extra herbs wilt in the fridge or go bad before you get around to using them, you just dry them and save them. Nothing gets wasted, and you always have your own flavor packed dried herbs on hand. I dry them, crush them, and put them in jars, repurposed from store bought herbs (because I like the holes to shake it out) or in small mason jars.
Made to Order Jerky
I had no idea that I would love to make jerky as much as I do. Surprise! This is probably my favorite feature. I thought I’d give it a try and as it turns out it is so simple to make.You can use literally any meat, beef, chicken, turkey, venison, salmon, whatever you like — and flavor it exactly how you want. Want it hot? Load it up with chili flakes and cayenne. Want it sweet? Go with or honey or brown sugar. It’s completely custom to your taste, which is more than I can say for anything I’ve ever grabbed off the shelf. Not to mention the high cost of store bought. The savings is incredible. Once you make your own jerky, the bagged stuff just doesn’t compare.
Here’s how I do it. This is ‘sort of’ a recipe but I feel like I flavor it differently every time.
- I use 1lb of meat, usually chopped beef.
In a bowl I whisk together:
- ½ cup soy sauce – (ratio is ½ cup of liquid to 1 lb of meat)
- 1 tsp. Smoked paprika
- 1 tsp.Onion powder
- 1 tsp.Garlic powder
- 1/2 tsp. black pepper
- 1/2 tsp. crushed red pepper
- 2 tablespoons of honey
I mix with the meat and marinate it in the refrigerator for a few hours. I do usually let it sit overnight.
I have found so many recipes on the web but this is my quick go to. It takes just a few minutes to prepare and put in the fridge. I have included a link for the seasoning that Nesco sells in case you want to give that a try before you start to experiment with your own recipe and flavors.
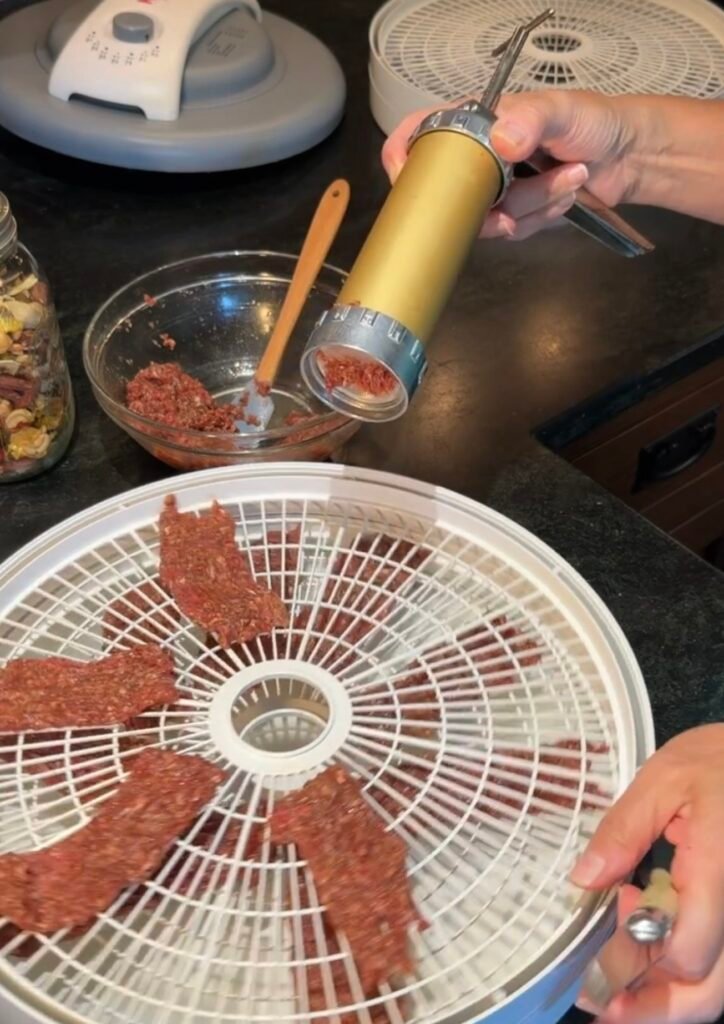
After it’s marinated I load it into my jerky gun and press it directly on to the trays. I set the temperature at its highest and let it run for about 8 hours. The time will vary depending on how thick the jerky is. You will know it is finished when it’s firm but still bendable. I store it in the refrigerator. You can freeze it but I only make a pound at a time so it doesn’t last long enough to go bad!
Cleanup Is Not the Nightmare I Expected
I’ll admit, I thought cleaning it would be annoying. It’s not. The trays rinse clean in a couple of minutes. No dedicated “dehydrator cleaning day” required. Any food that sticks to the tray is easily soaked off. The care instructions say that you can put the trays in the top shelf of the dishwasher and remove them before the dry cycle to prevent damage. (which I would definitely forget to do!) I have never had any need for more than a quick sudsy rinse in the sink. Cleaning up is really so easy.
The Bottom Line
Skip the mystery ingredients. Once you start making your own trail mix, herbs, and jerky, it’s hard to go back to buying the store version — you’ll genuinely taste the difference. And you’ll be pleasantly surprised at the ease of it all. It’s the perfect DIY snack that all your friends and coworkers will envy! I can’t tell you how many people I’ve sold on getting a dehydrator! My biggest fan is a coworker who uses it to make dog treats! If you’ve been on the fence about getting a dehydrator, or are just learning the benefits for the first time, this is a really easy, low-cost place to start.
The link below shows all the equipment I use. As always, thanks for starting your Amazon shopping with my links! Happy snaking!



Leave a Reply